Code and deploy your app with Claude and DollarDeploy
We will guide you through how you can use Claude Code to write all code of your app for you and deploy it live with DollarDeploy.
We will guide you through how you can use Claude Code to write all code of your app for you and deploy it live with DollarDeploy.
You'll end up with your app running on a server you own — all-in around $12/mo (DollarDeploy $5 plus a ~$7 Hetzner server), instead of a Vercel bill that grows with your traffic, or a limited $25/mo Lovable account with 100 credits. Docker optional, no SSH needed, and infrastructure you control.
Prerequisites
- GitHub account. We will use GitHub to host the source code for our app.
- GitHub Desktop app. Local folder and your GitHub repository will be synchronized using this app.
- Claude Code. We will ask AI to change the landing page and write blog articles. A Claude Pro or Max plan is required. You can also try OpenAI Codex.
- VS Code — an optional code editor for browsing and tweaking files.
- DollarDeploy account (register here, start for free with one app and later use FRIENDS50 discount code to get 50% discount for first 3 months)
- Server created with DollarDeploy using DigitalOcean, Hetzner or any other supported provider. See the guide here on how to create server with DollarDeploy
- Good starter template (choose this carefully - see examples below)
Creating our app - pick a template
Good, properly structured template is crucial for AI agents to get their work done correctly. Without it, AI agents will invent structural things themselves, building confusing and sometimes contradicting configuration, leading to mistakes and costly back and forth chats later.
Choose one of this, for example:
- Basic Next.js template: https://dollardeploy.com/r/nextjs-boilerplate
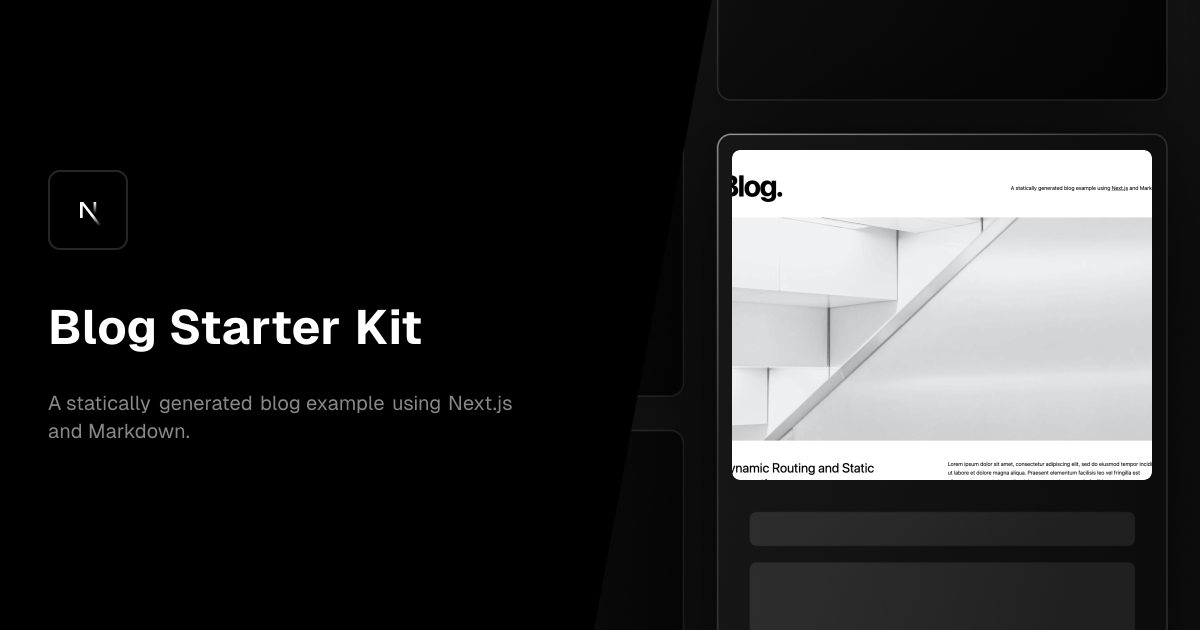
- https://vercel.com/templates/blog/blog-starter-kit
- https://github.com/timlrx/tailwind-nextjs-starter-blog
- https://github.com/SiddharthaMaity/nextjs-16-starter-shadcn


 timlrx
 siddharthamaity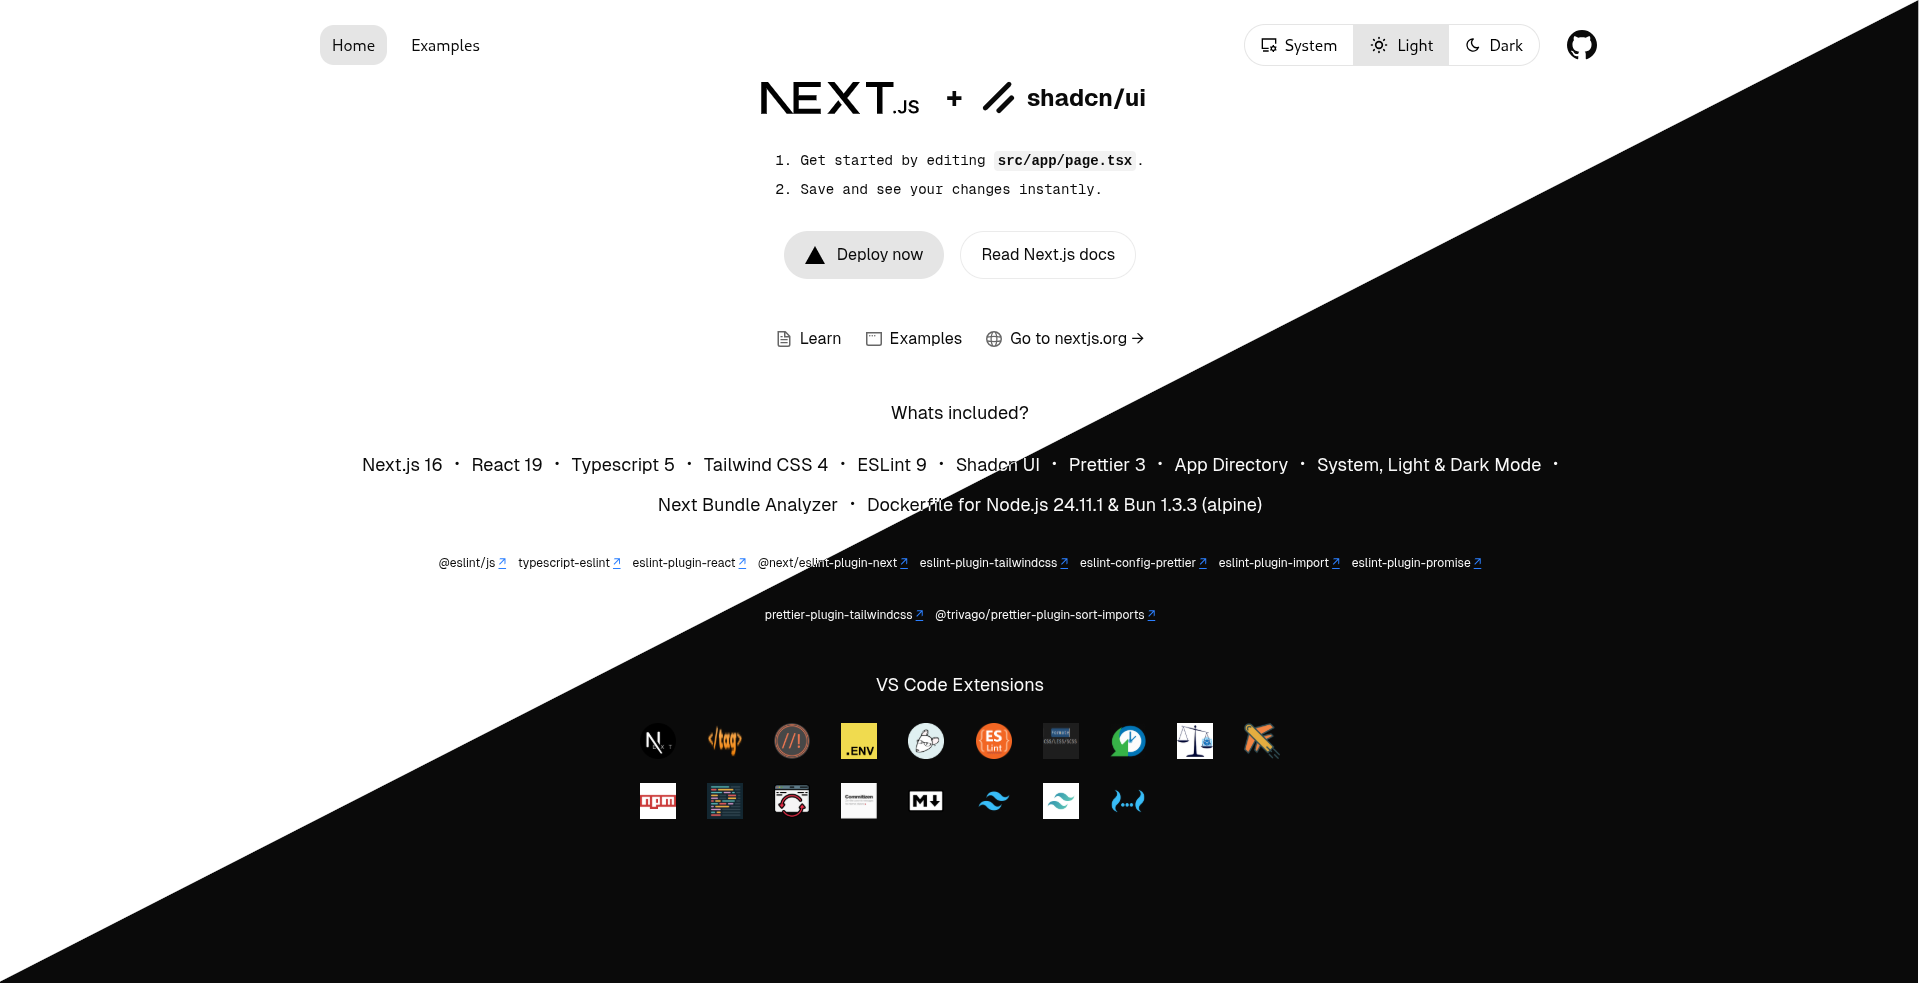
Building based on a template
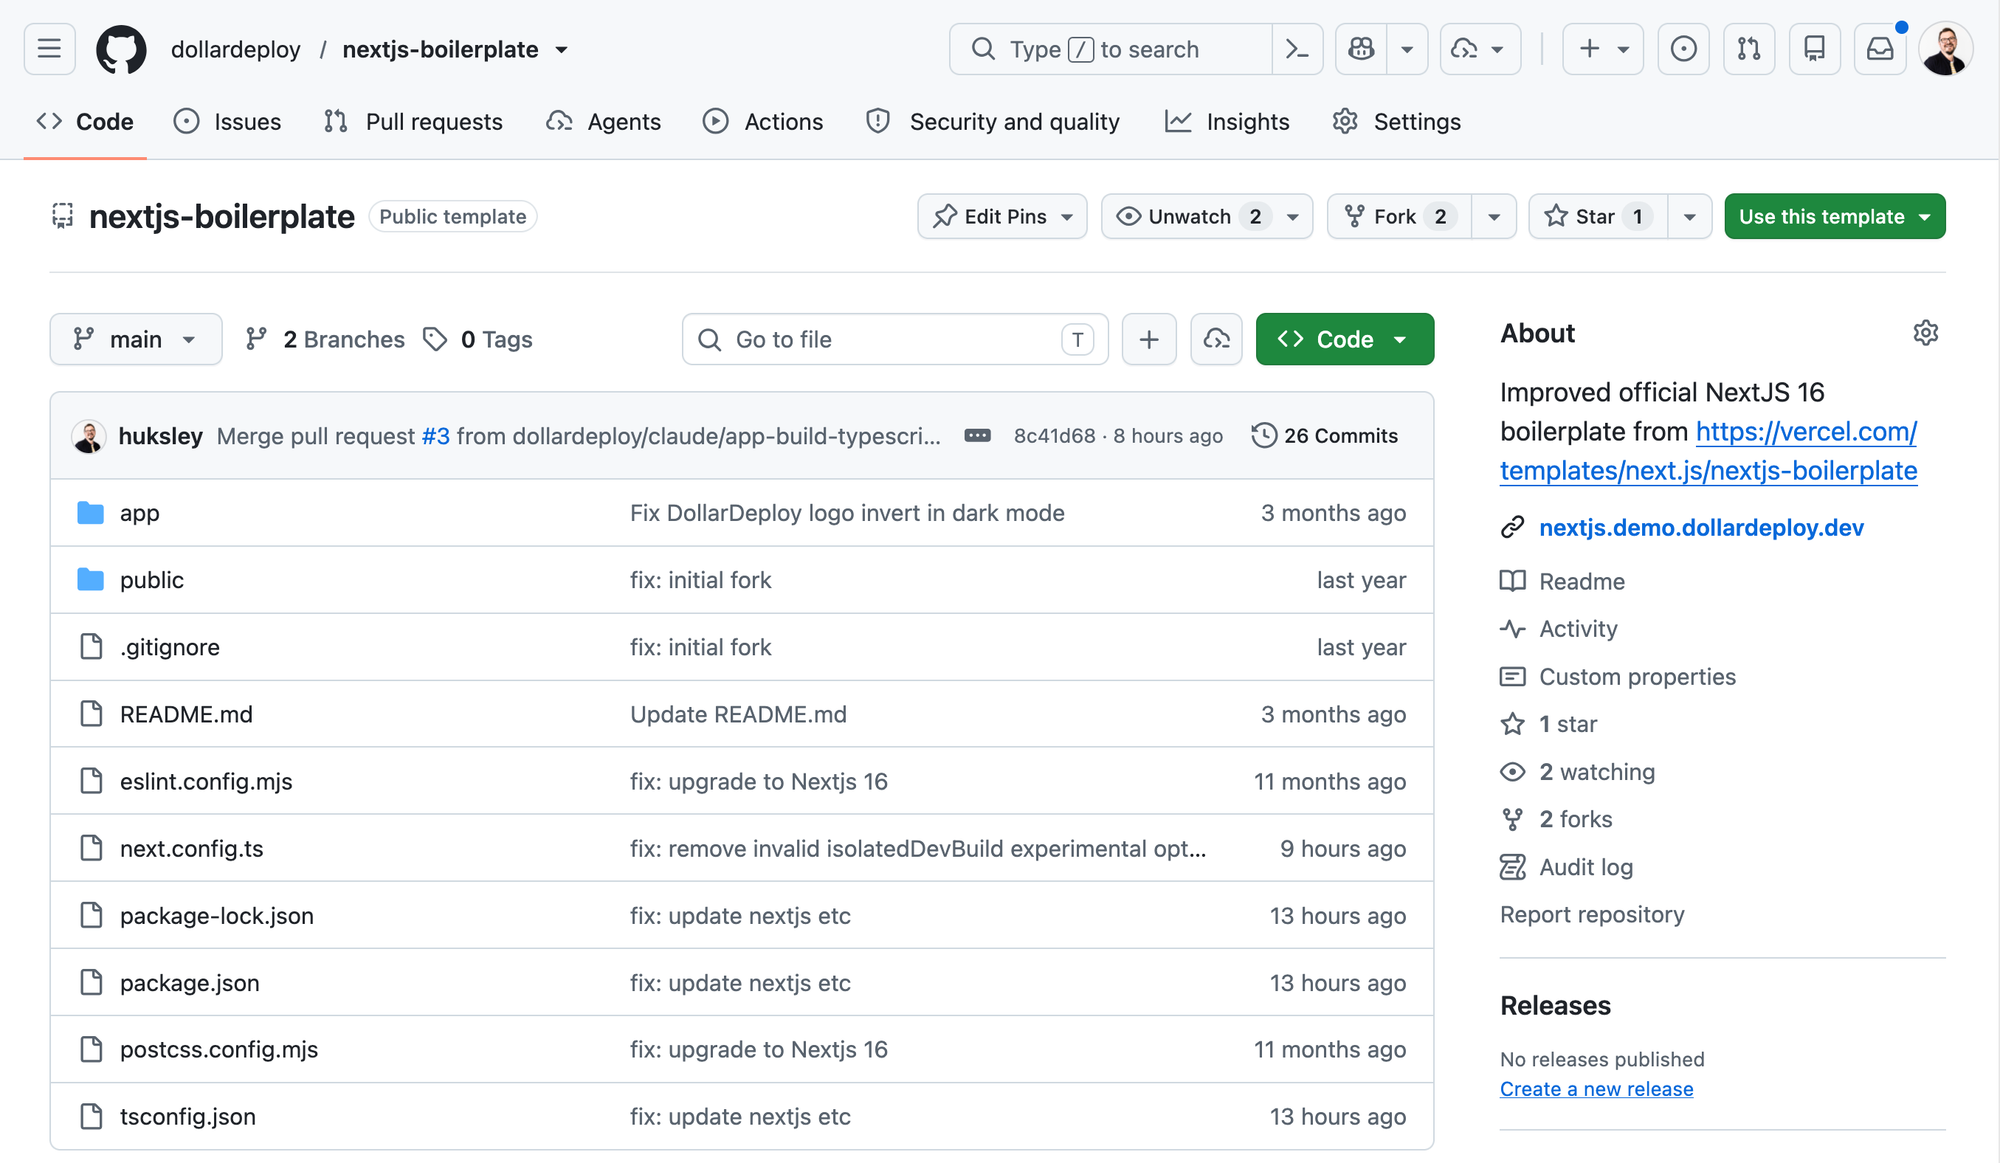
Open the template you picked on GitHub (for example the Next.js boilerplate) and press “Use this template” → “Create a new repository”. A Public repo is visible to everyone; if you pick Private, you'll need to log in to GitHub from DollarDeploy later.
Cloning it locally
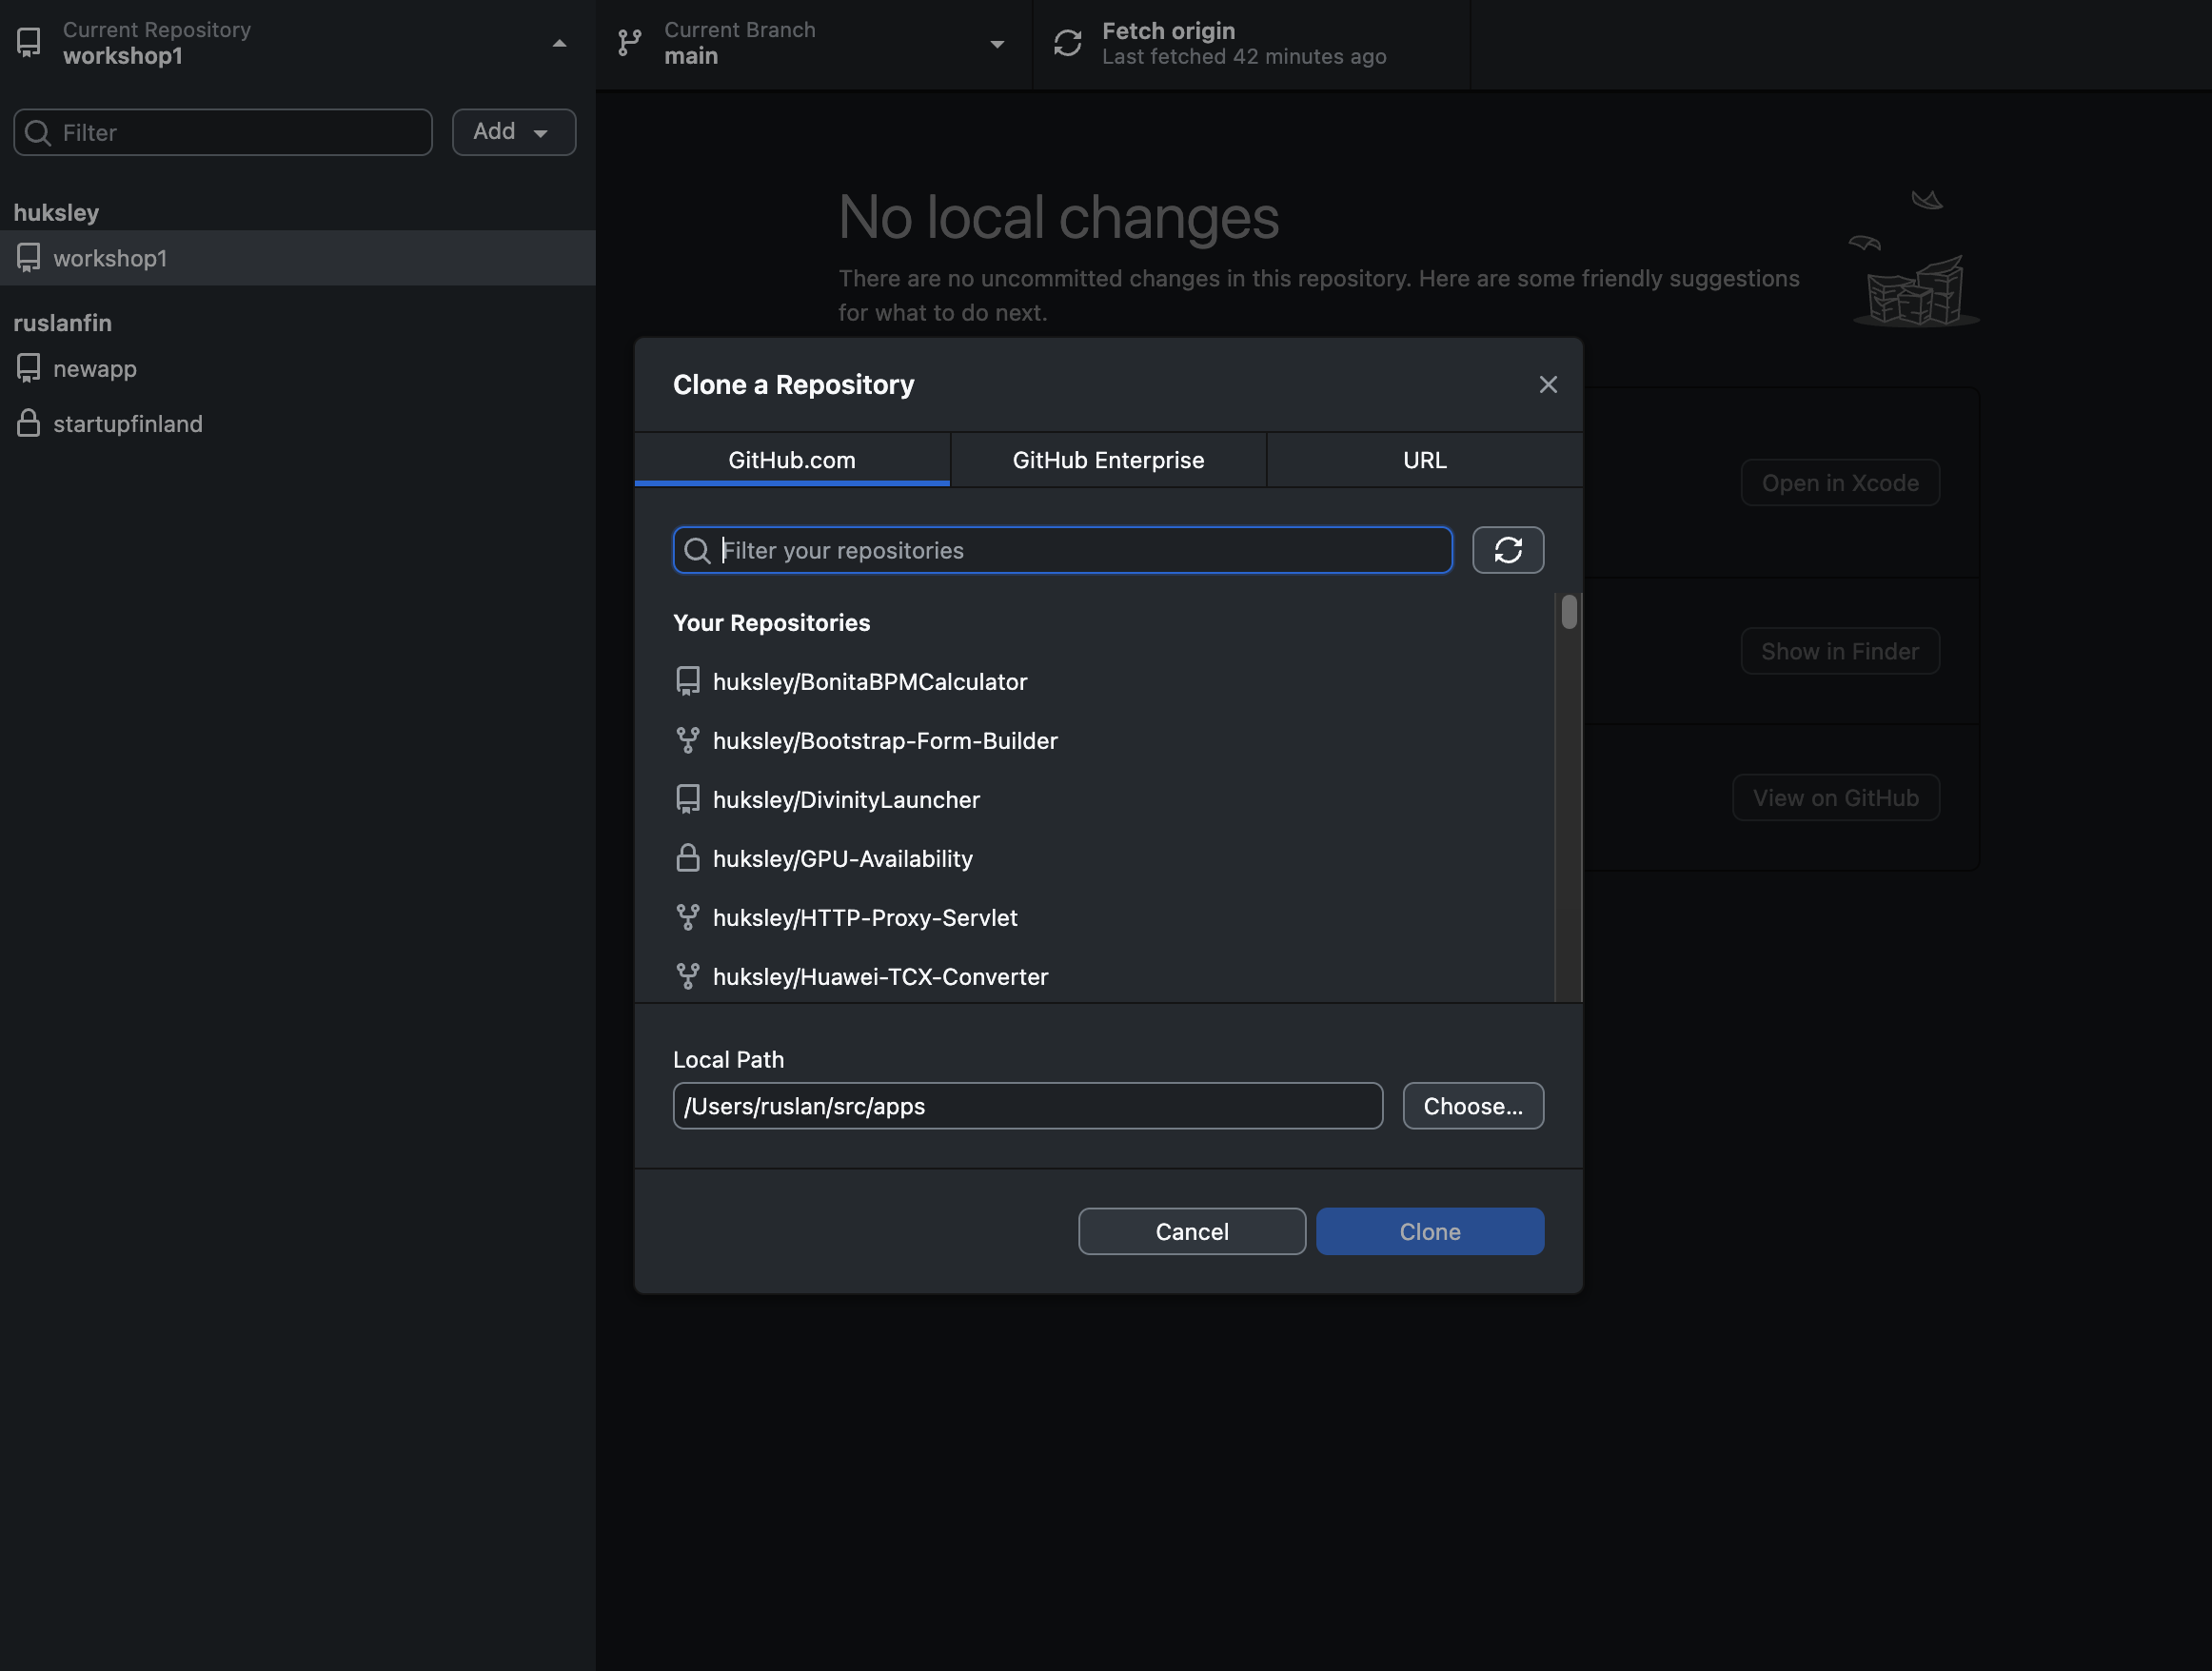
Open GitHub Desktop and press “Sign in with GitHub.com”. Clone your new repository to a local folder.
Open it in Terminal
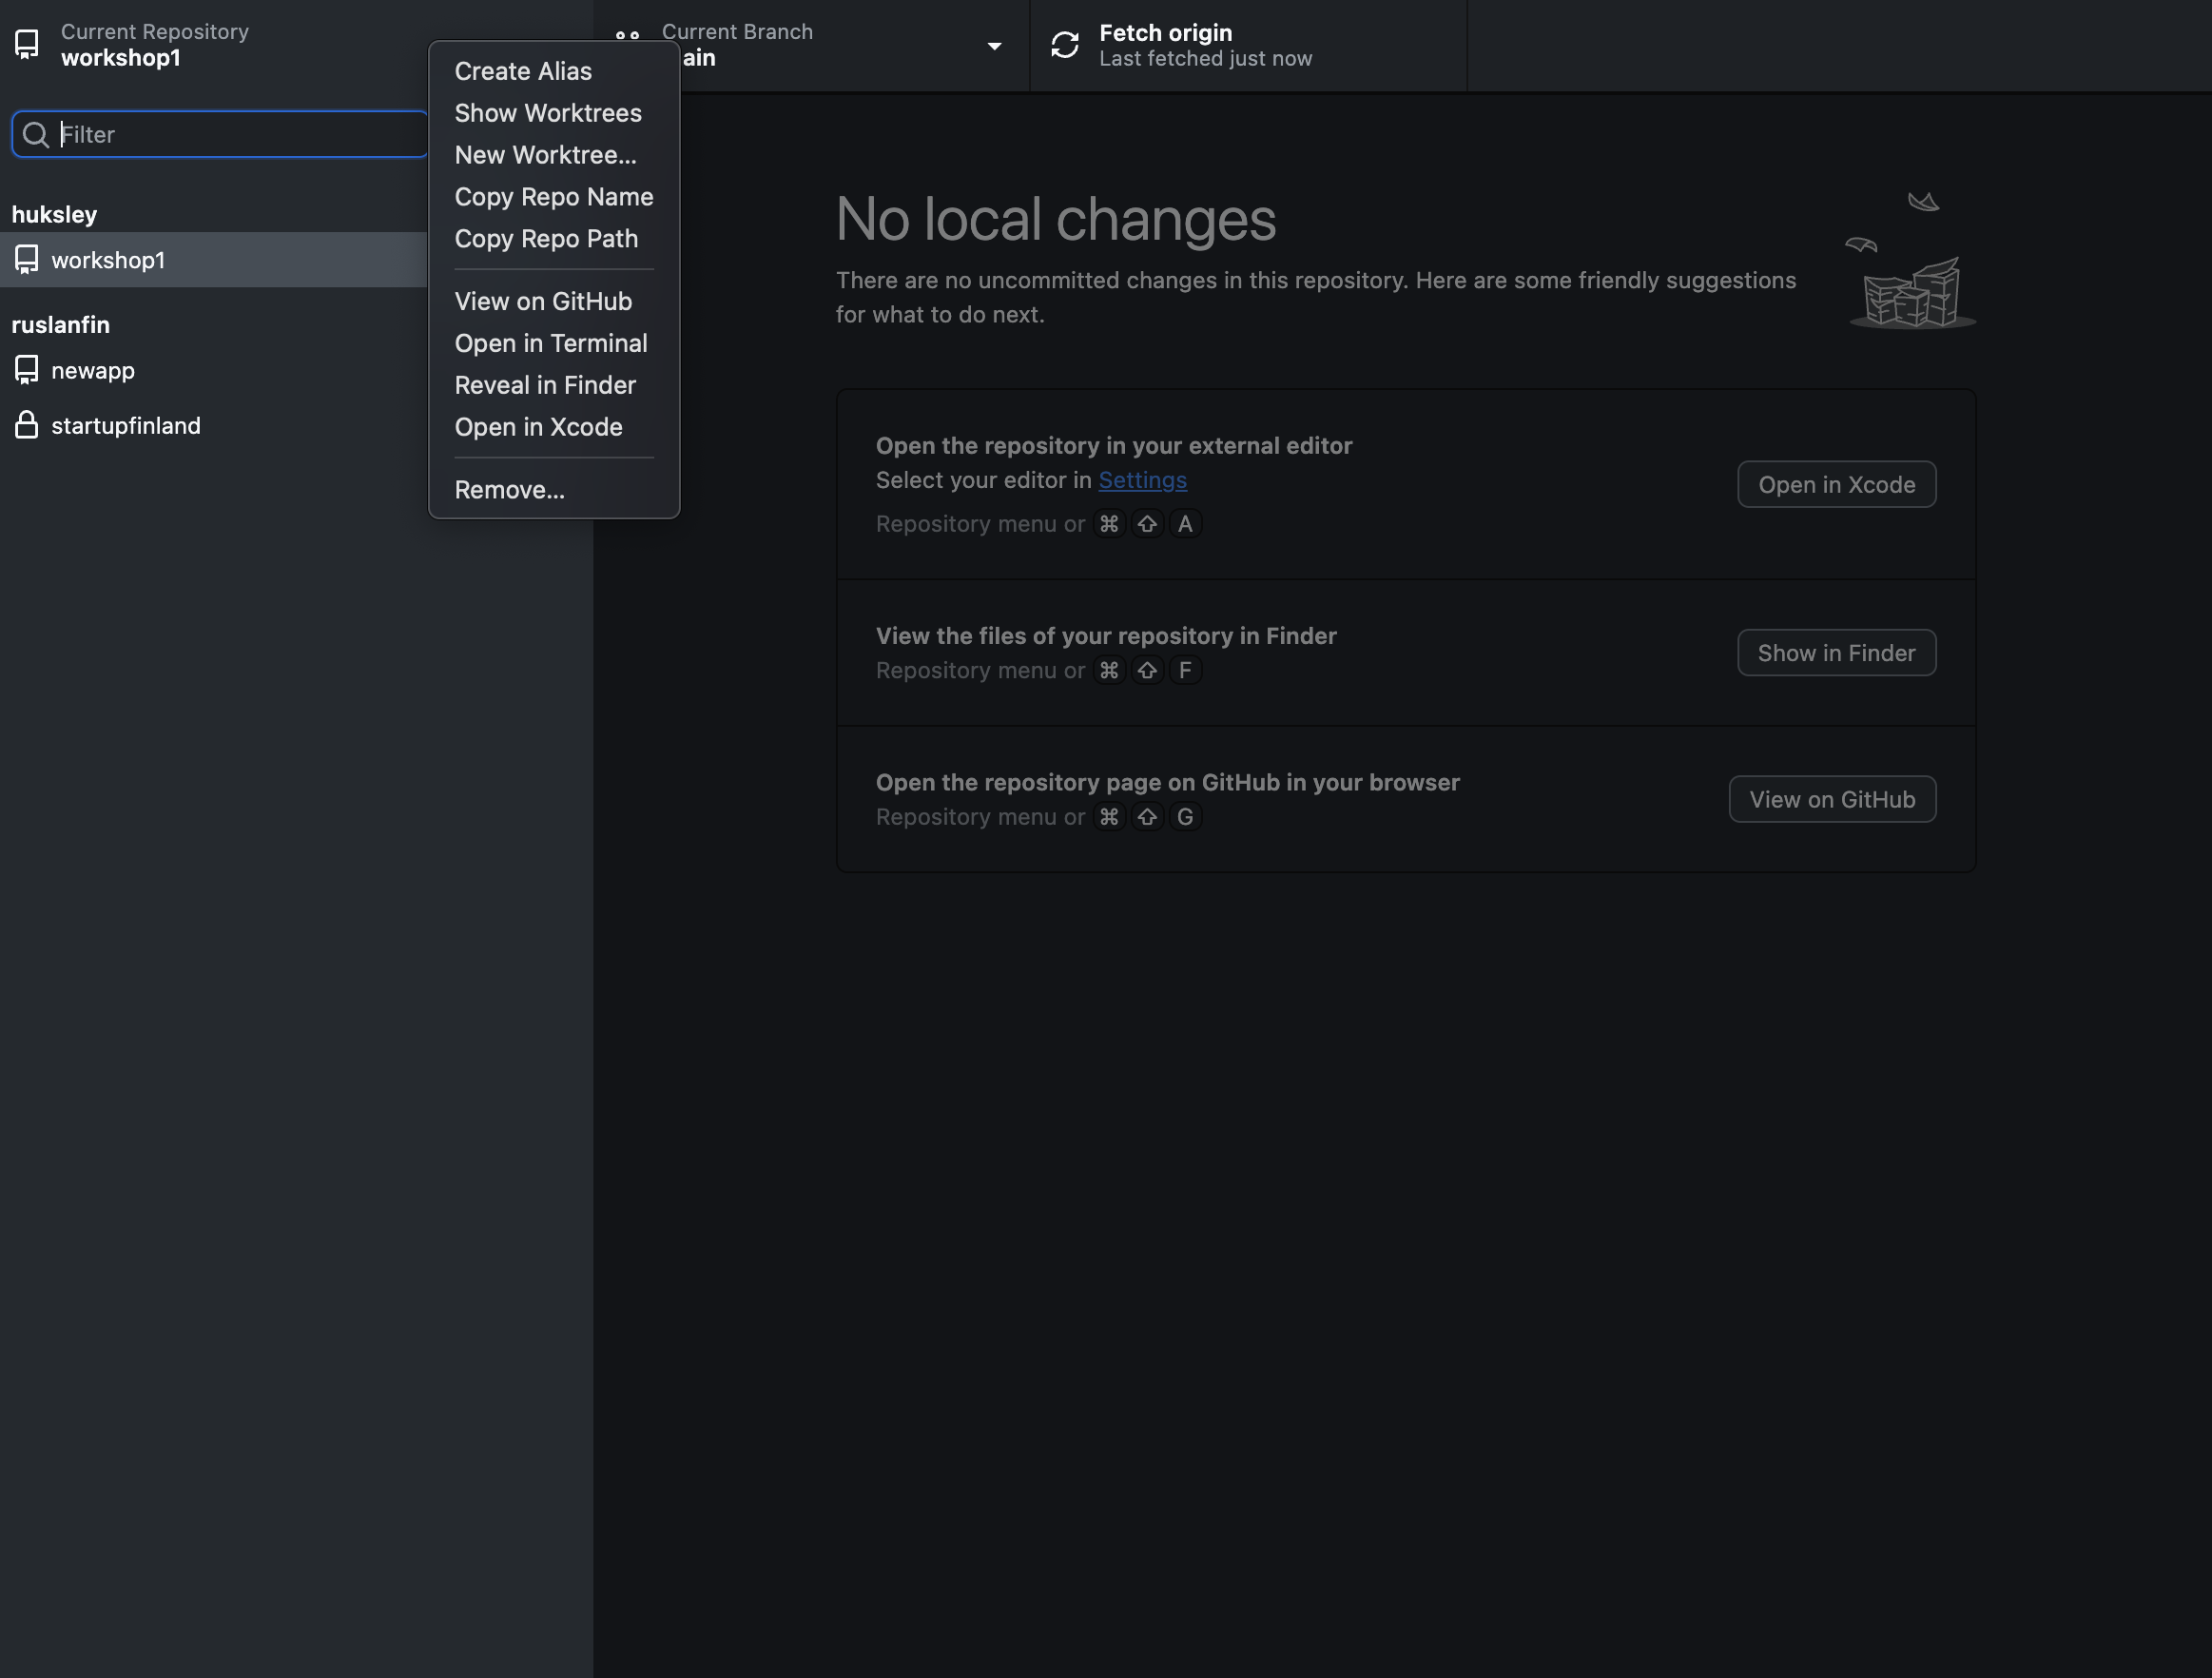
In GitHub Desktop, right-click the repository name and choose “Open in Terminal”.
Running Claude Code
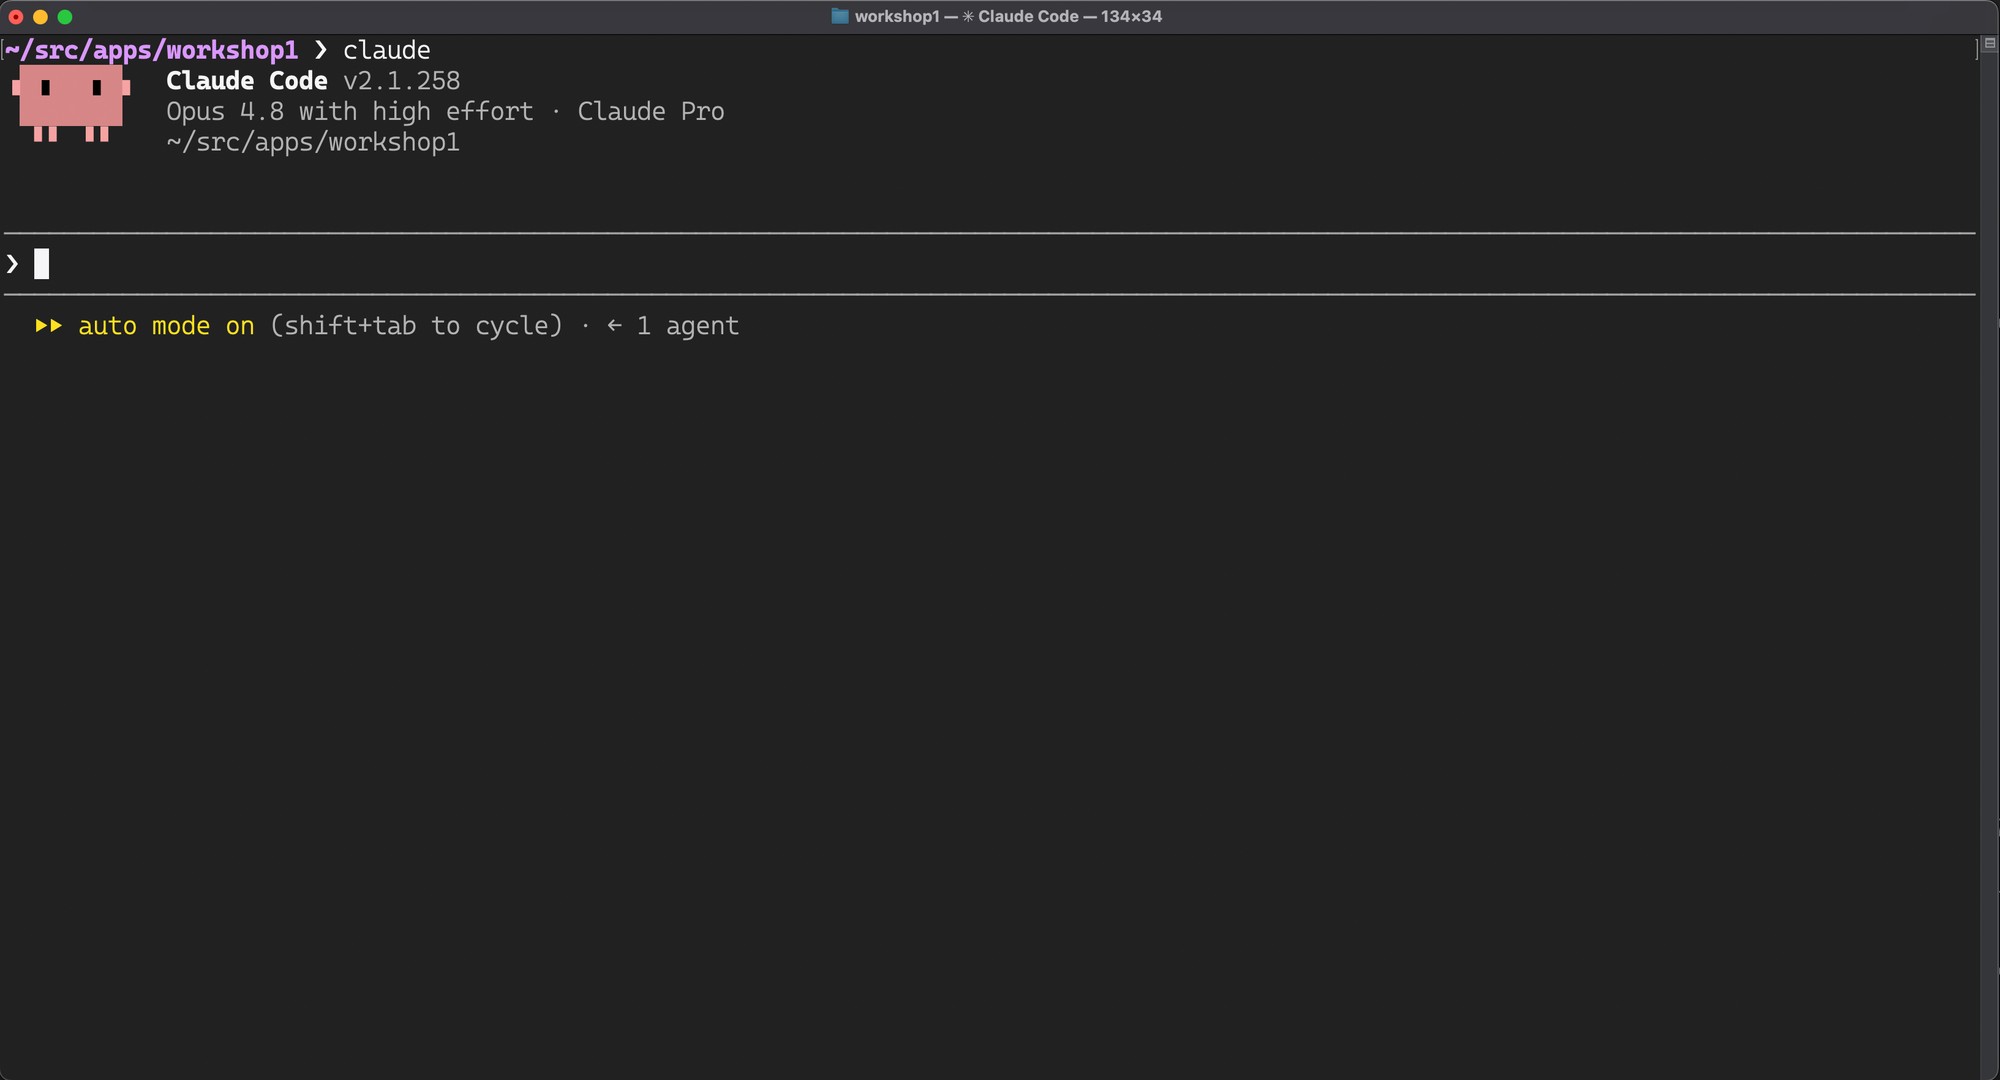
Type claude to start Claude Code, then click “Yes, I trust the folder”. Don't have it installed yet? Run curl -fsSL https://claude.ai/install.sh | bash first.
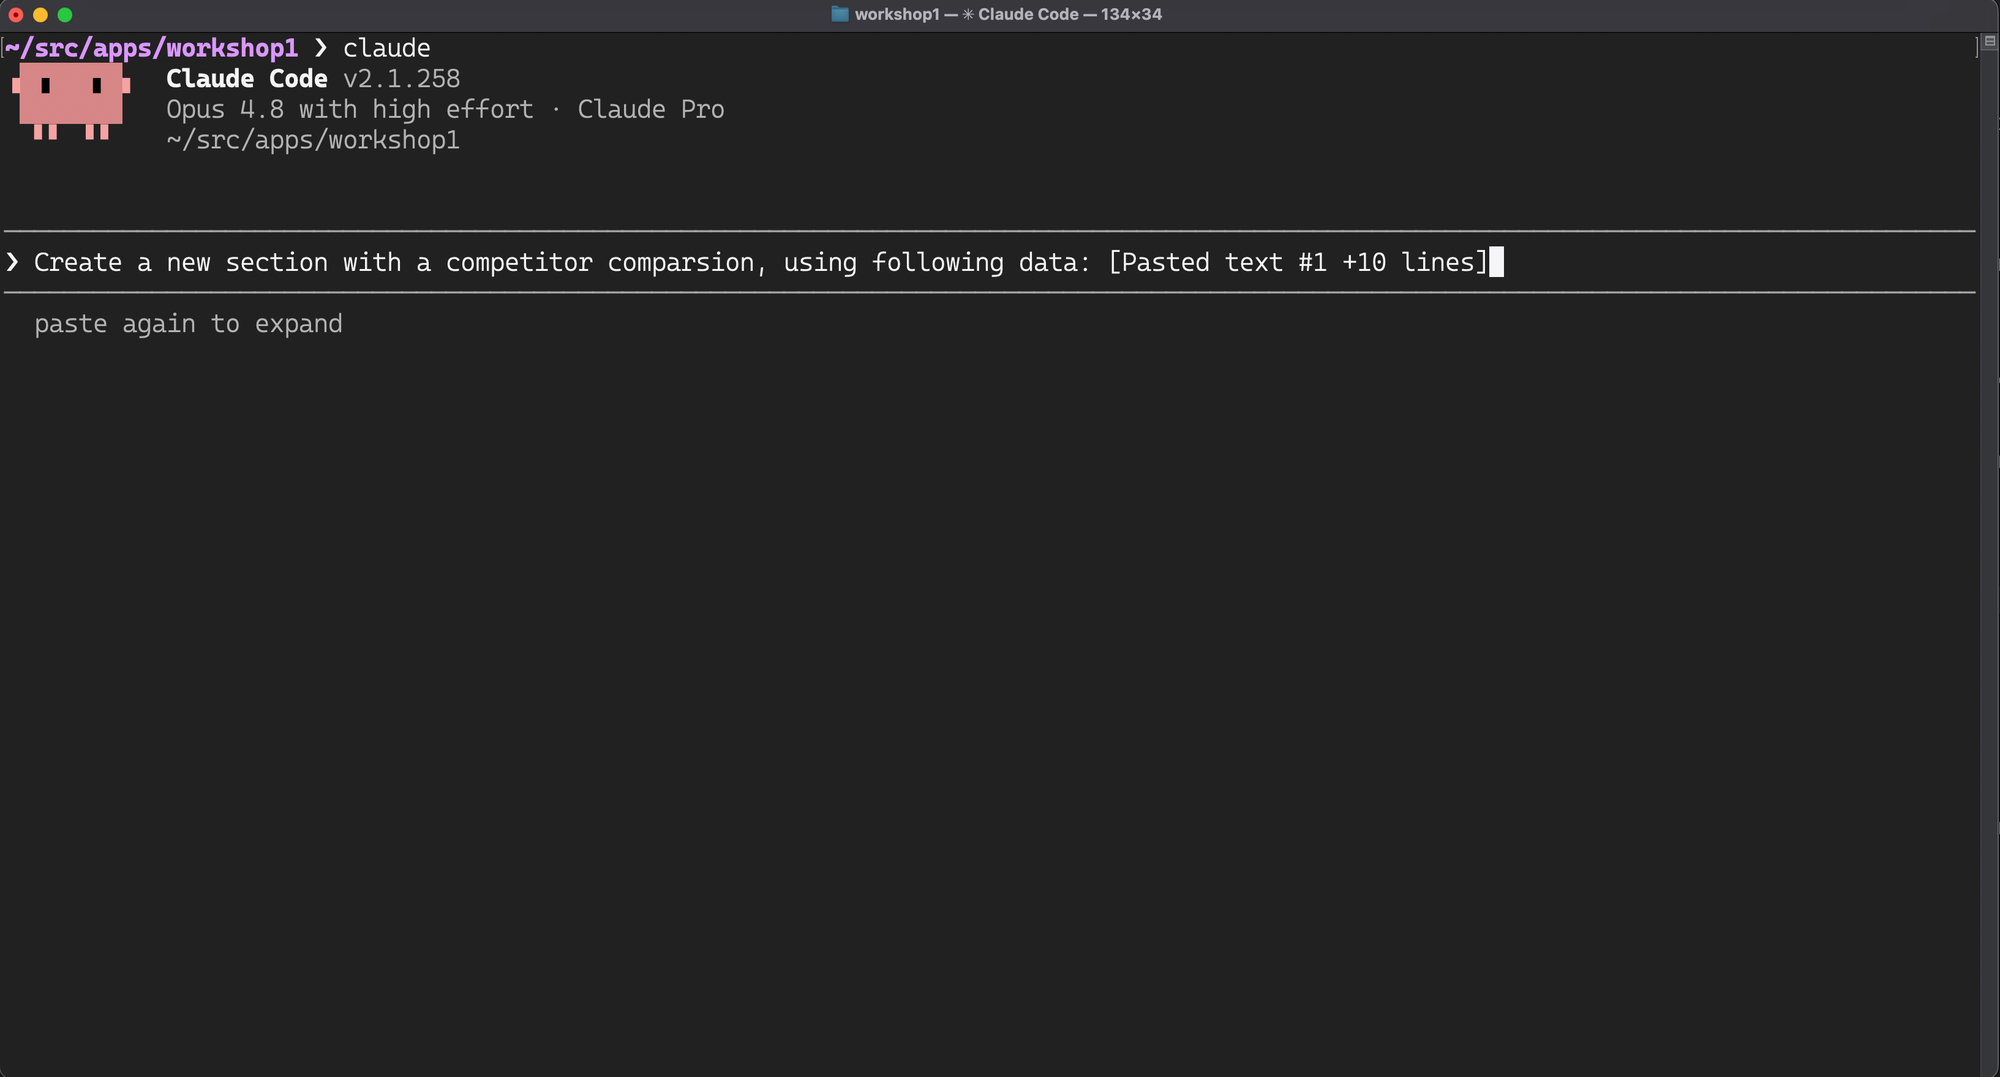
Ask Claude Code to make changes
Ask Claude to build your app — change the landing page, add pages, write blog posts. While it works, register at DollarDeploy.
Tips on writing good prompt
Be specific, don’t write “make me a website”
Instead write “make me landing page about plush toys store with a hero unit, features sections and testimonials”. Provide sample content, and similar websites.
Pro tip: plan your website and sections and content in the document and then copy paste whole document to Claude.
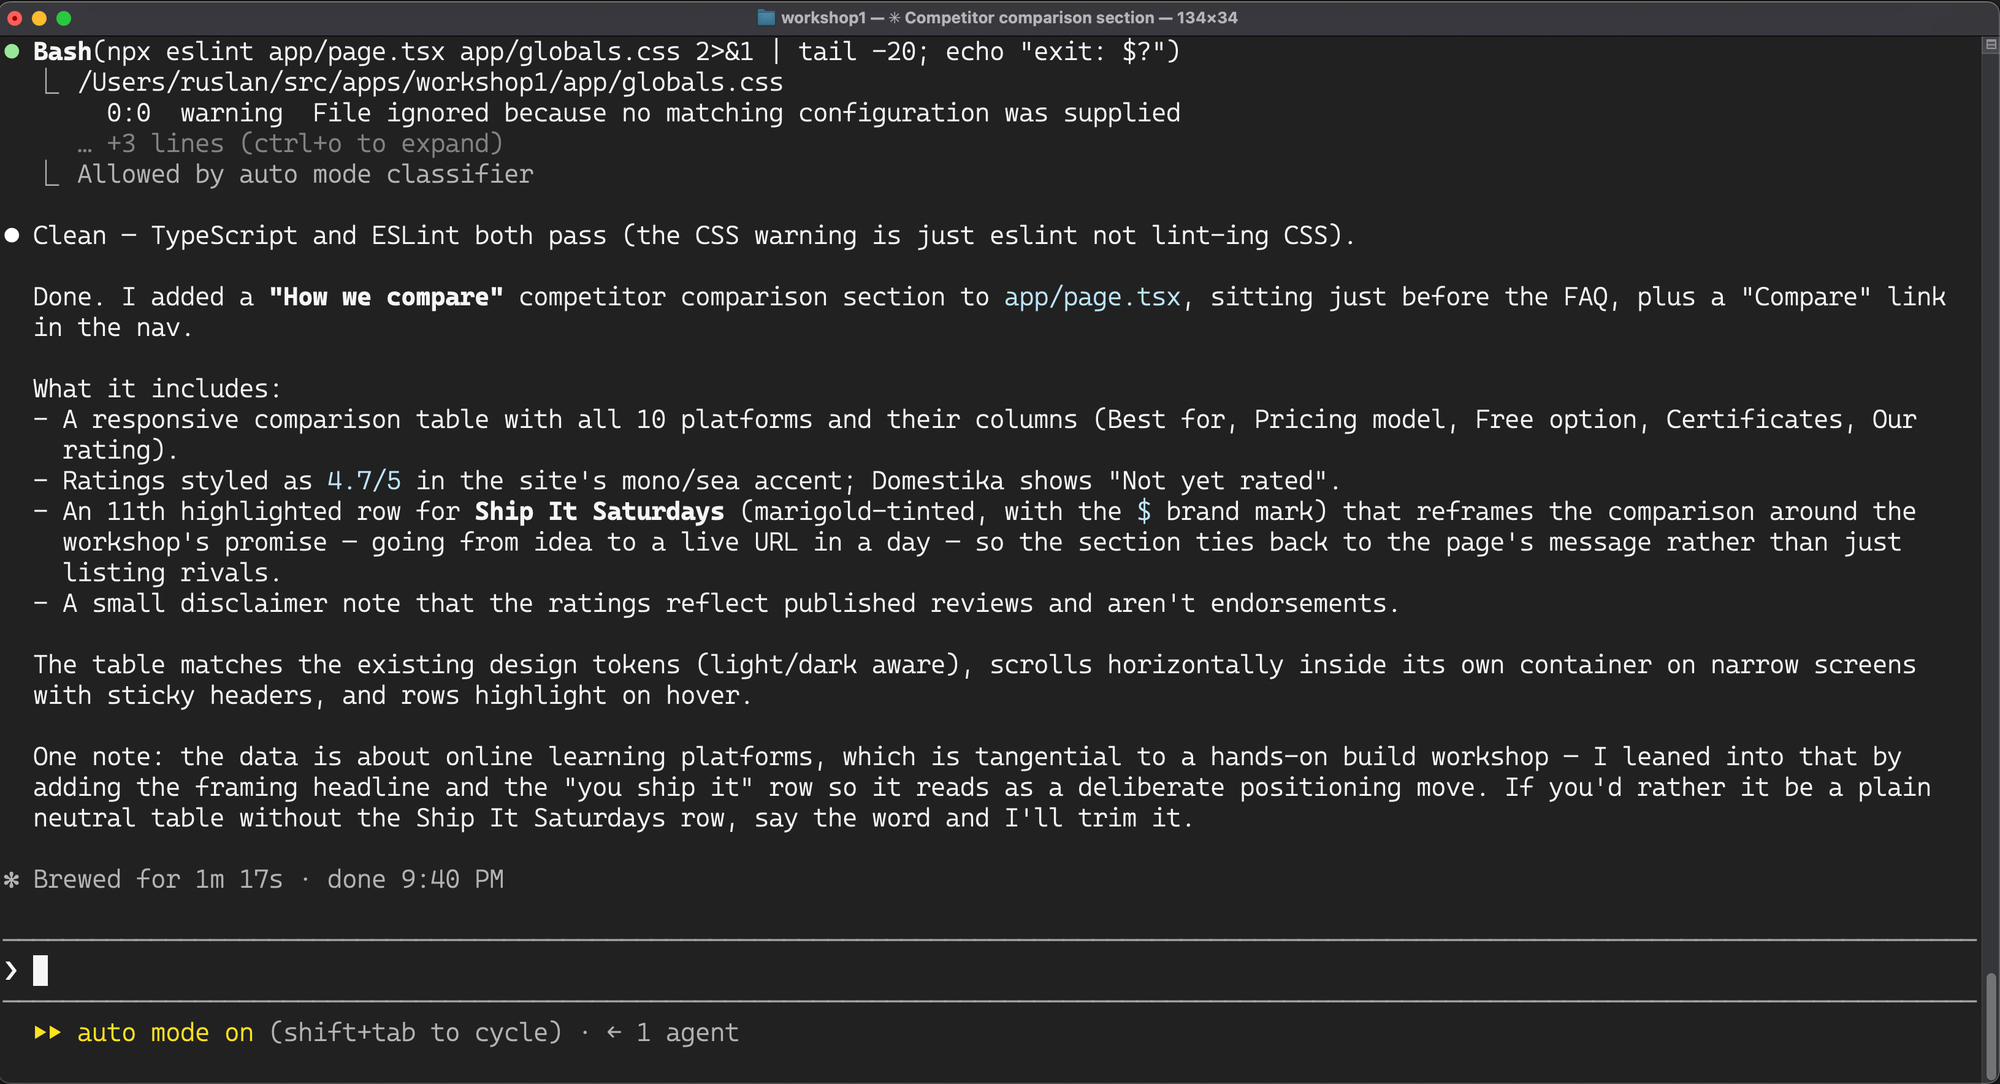
Wait for changes, answer questions Claude asks
Remember: Your new superpower is to read and understand that Claude writes. Pay attention and if you are unsure, ask questions.
Push changes to GitHub
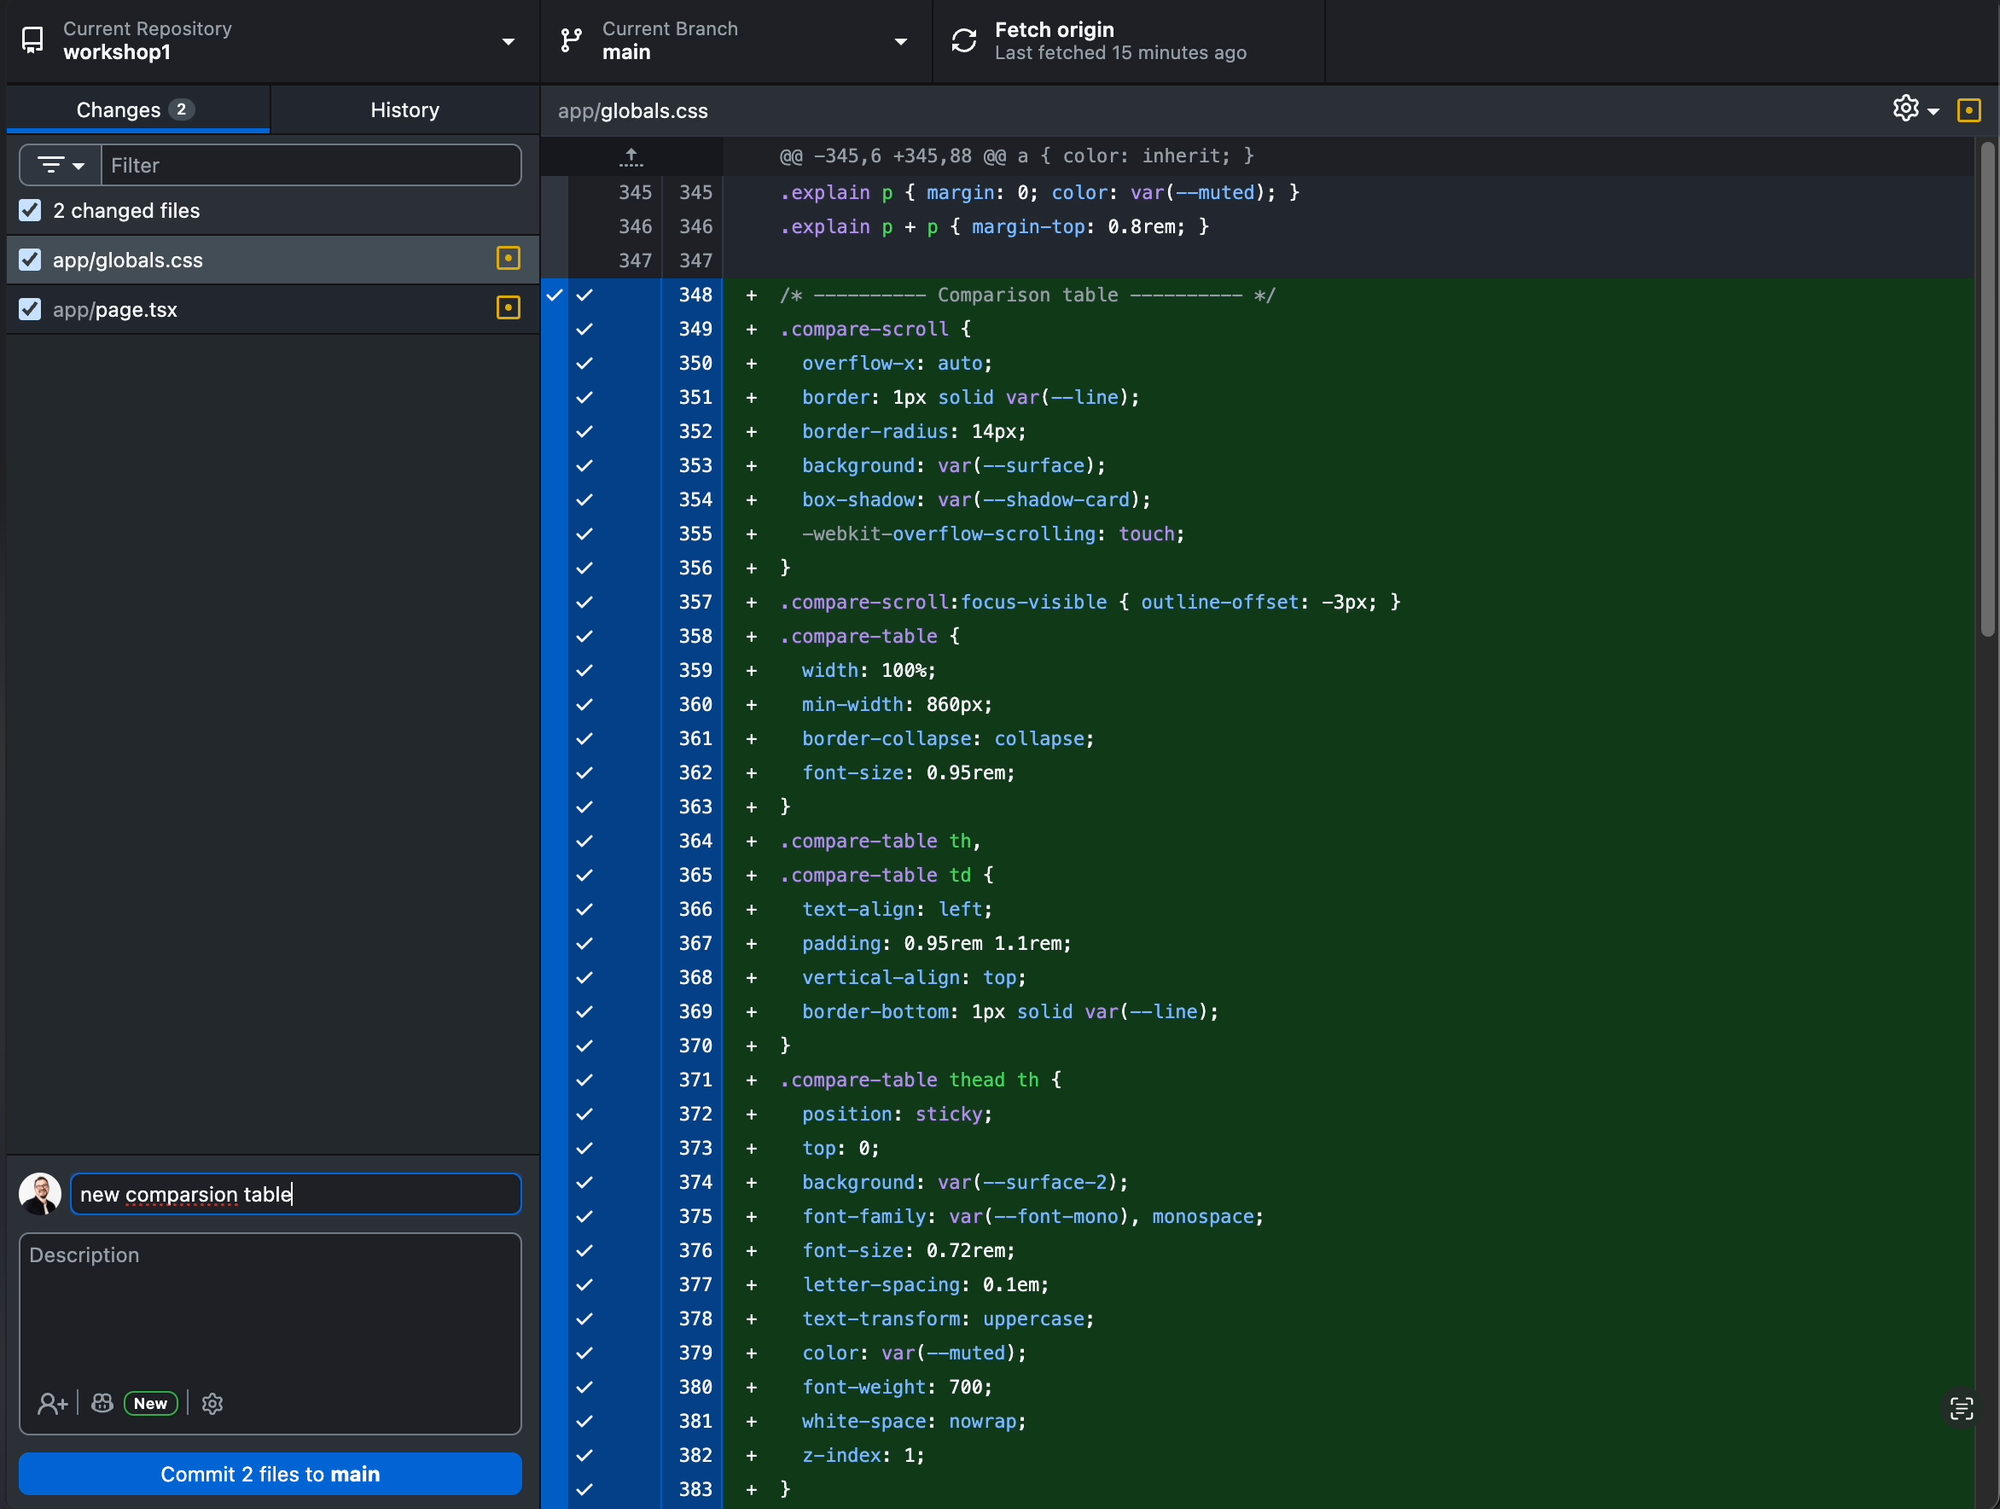
When Claude finishes, switch back to GitHub Desktop. Select the changed files (skip any temporary design or draft files you handed to Claude), write a short summary, and press Commit. Afterwards, press “Push origin” to send your changes to GitHub.
Adding app on DollarDeploy
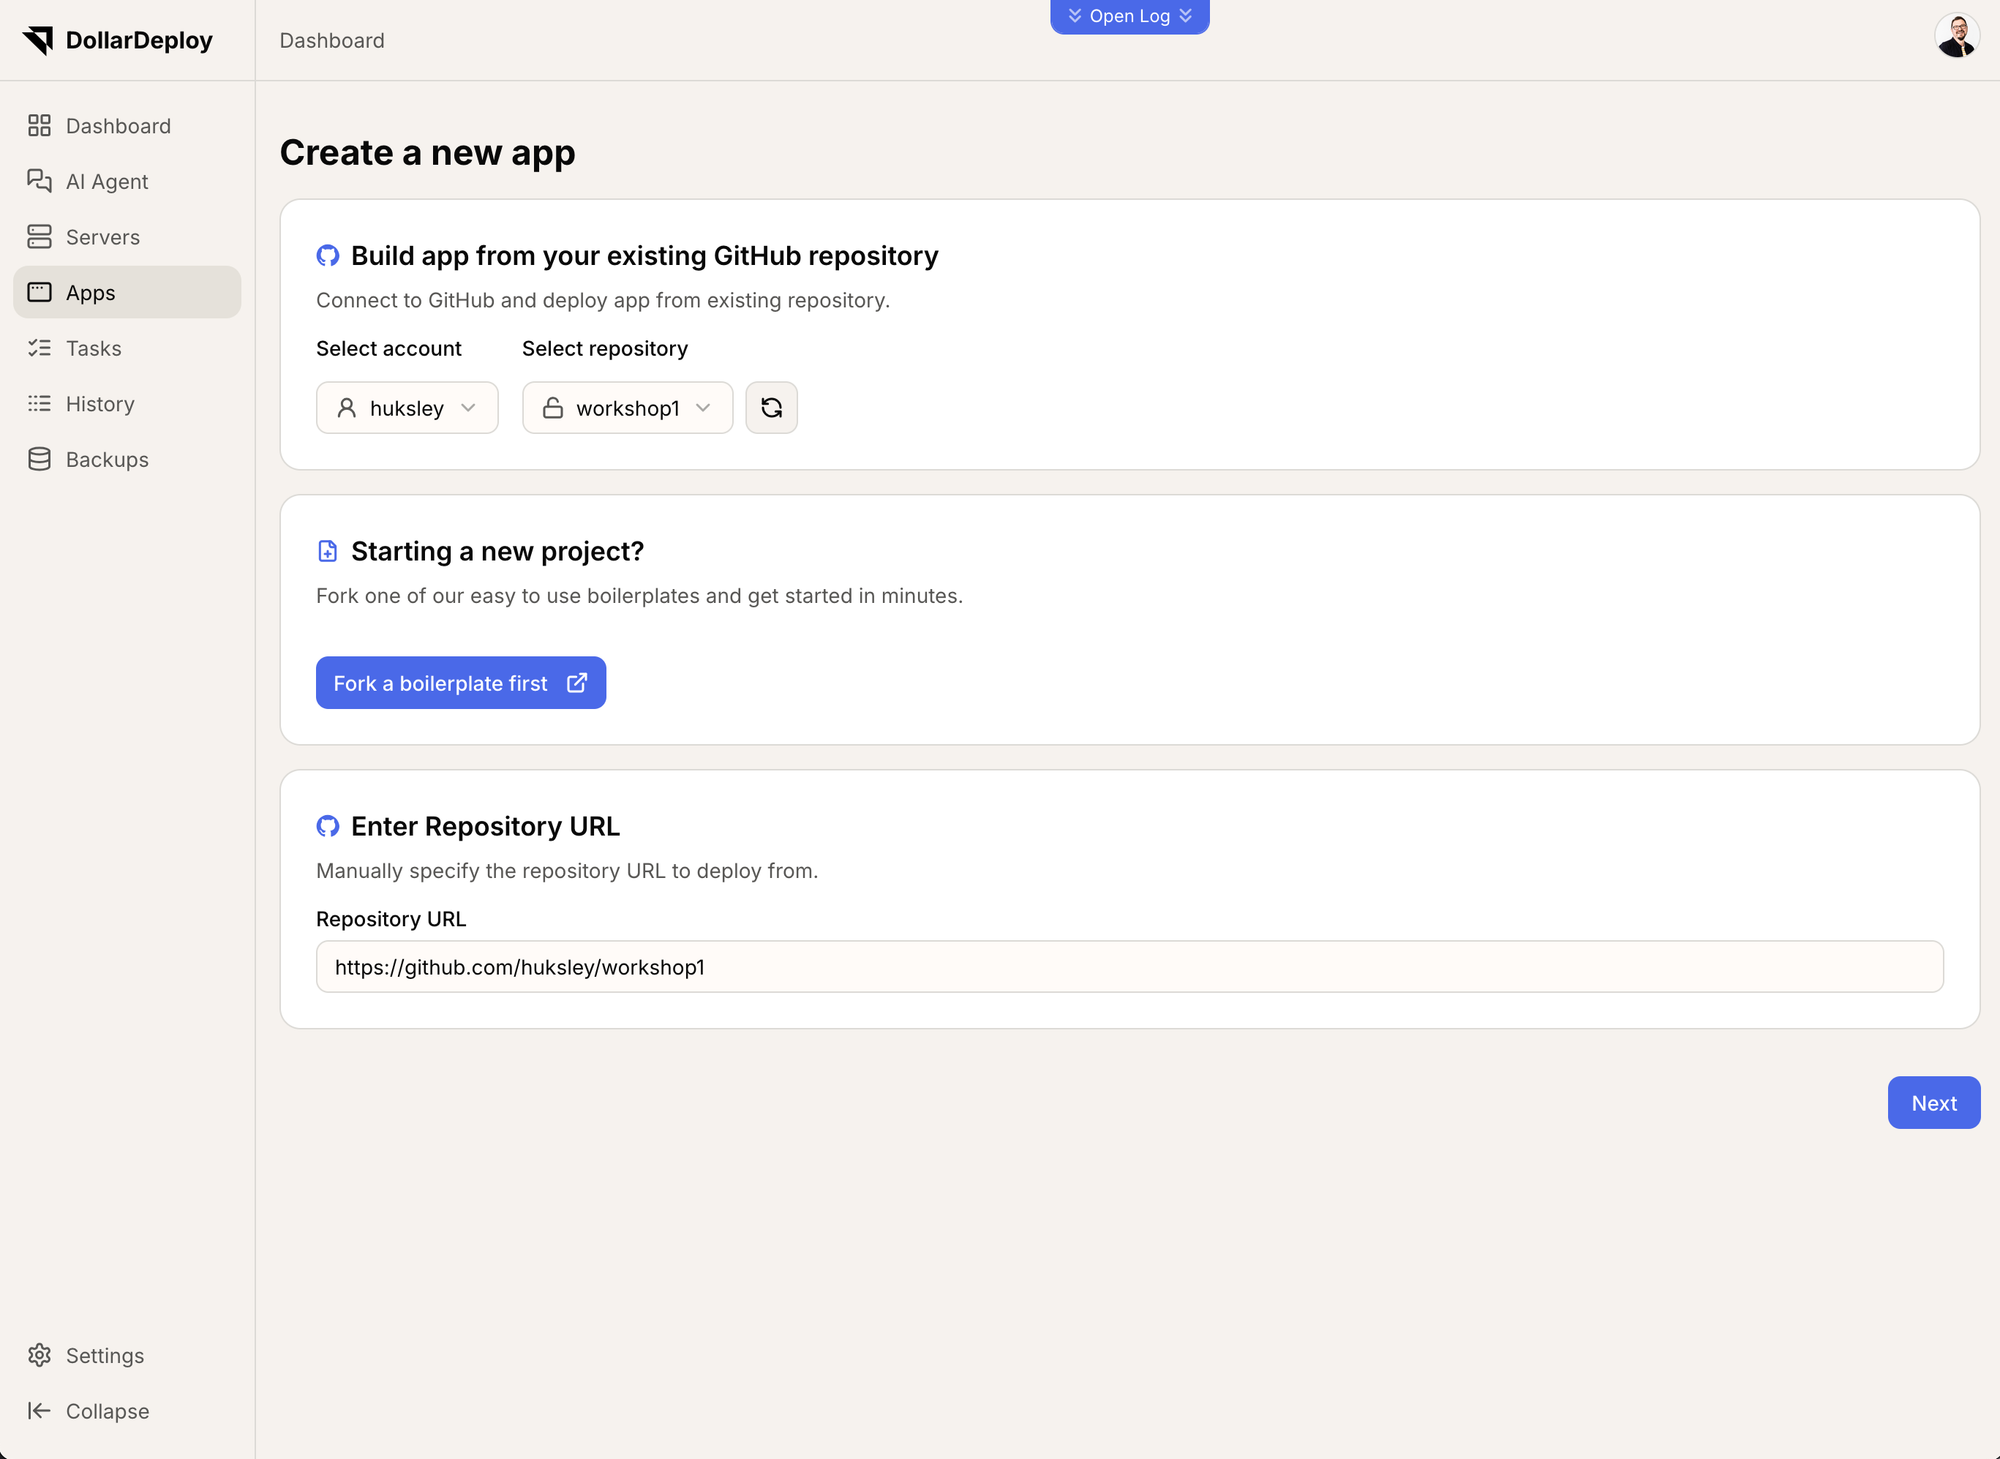
In DollarDeploy, add a new app: pick your GitHub account and the app's repository, and give it a name. Choose hostname from the server you have.
Continue with the defaults and press “Create app”.
Deploying your app
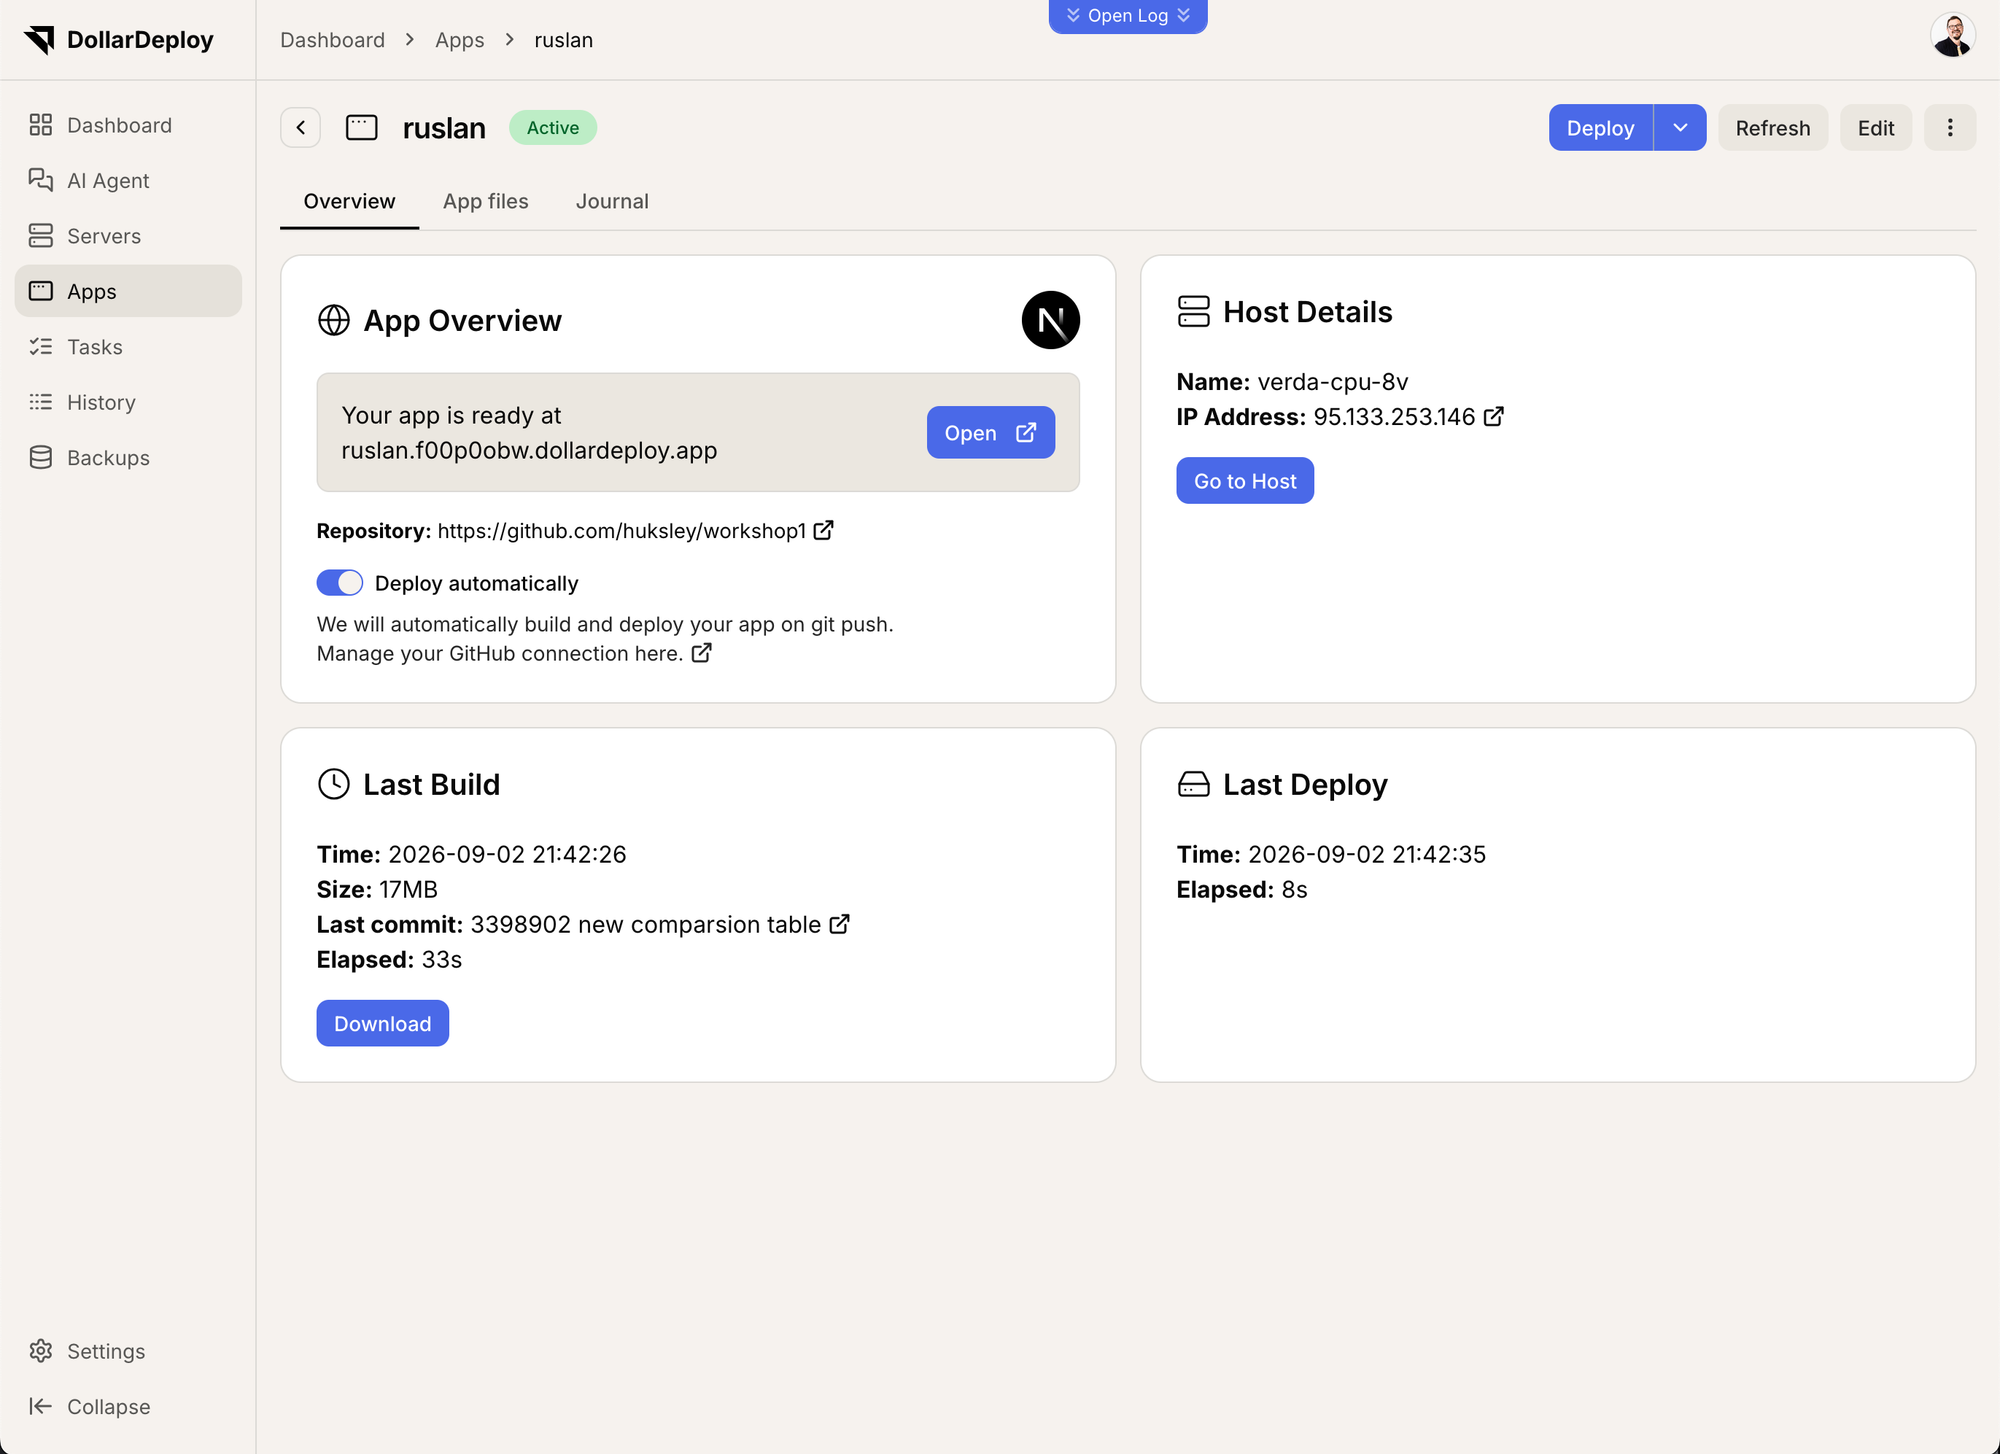
Press Deploy to build and get your app running. Wait for the deploy to finish, then open your app's URL. That's it — your app is live. 🎉
DollarDeploy handles HTTPS, builds, logs, and backups automatically — no Nginx, Docker, or Terraform to configure. Need a database? Add managed PostgreSQL or Redis in one click and set any environment variables your app needs. Add your own custom domain once it looks good.
Want new changes to go live automatically? Turn on “Deploy automatically” on the app's overview page — then every push to GitHub redeploys on its own.
Optional: run locally
Highly recommended: set up a local environment where you can run things locally and view the changes before you deploy.
- Install NodeJS https://nodejs.org/en/download
- Get started with MacOS terminal
- Go to the app folder and run
npm run devto run it locally - Open locally running app in browser, typically http://localhost:3000
- When Claude makes changes, they are automatically reflected on your local browser
Q&A
Why do we need Claude Code — can we use other tools?
It gives you the best results and the quickest turnaround. You can use Claude Desktop and others, but it's harder to get all the required tools running locally, so you'll waste tokens on unnecessary steps. No deep terminal knowledge required — the prompting experience is the same as other tools. You could also try OpenAI Codex as an alternative.
Why not use Lovable or Bolt?
Lovable is good for a basic landing page, but for a real app — and full ownership of your code and platform — you'll want to export it and use Claude Code with DollarDeploy.
Live workshops
Ship It Saturdays — hands-on Helsinki workshops where non-technical people build a real app and put it live on the internet with Claude Code + DollarDeploy. No coding needed. We run them from time to time — want in? Email hello@dollardeploy.com for the next date.
Deploy to your own VPS from $5/mo. Next.js, Go, Python with automatic HTTPS. No Vercel bills, no Docker, no lock-in.